第 12 章 项目发布
1)开篇
截止到此时,我们整个的【慕课热搜】项目就已经全部开发完成了。
那么接下来我们就可以打包上线这个项目。
我们这里的打包会分为:
- 微信小程序
h5
两个平台的项目打包。
那么下面我们就分别来去看。
2)打包微信小程序
打开
HBuilder打开当前要打包的项目
点击发行,找到【小程序 - 微信】
确认小程序名称和
appid,确认无误点击 【发行】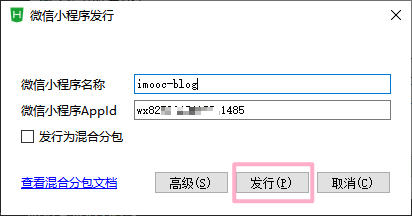
等待控制台编译
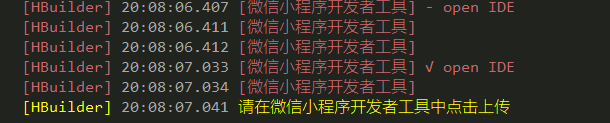
编译完成之后,会自动打开【微信开发者工具】
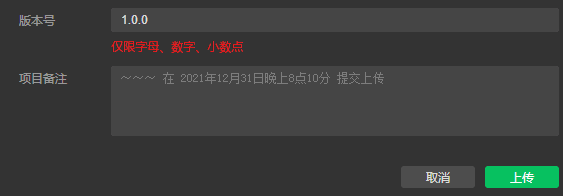
点击【上传】即可
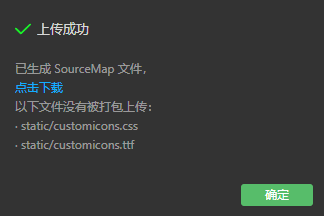
后续流程可参考【02-小程序初体验】 - 【项目发布流程】
发布体验版:
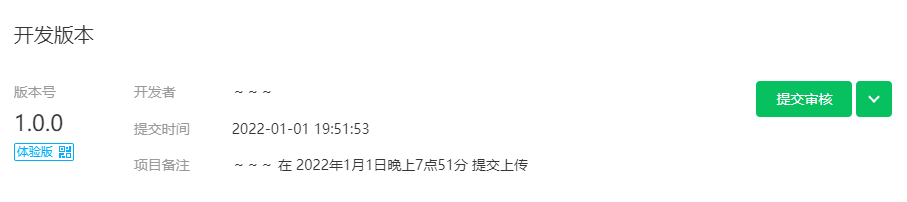
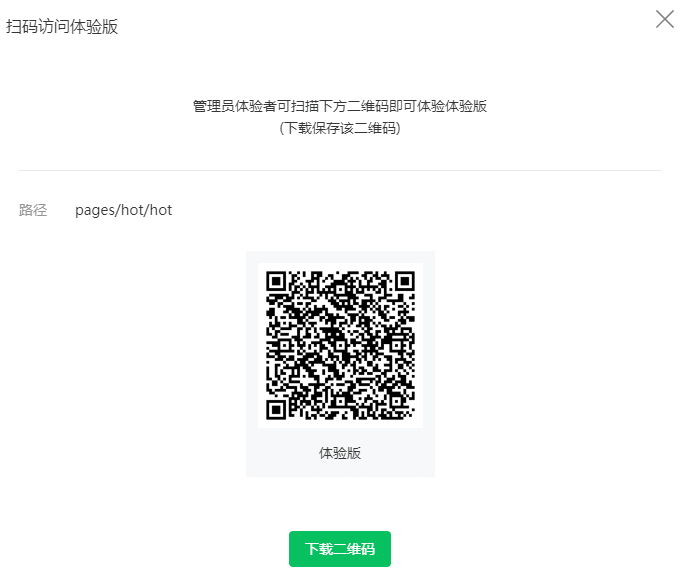
访问体验版(仅限管理员、项目成员、体验成员):
不发布了,一个账号只能发布一个小程序,而这个项目只是用作学习罢了!
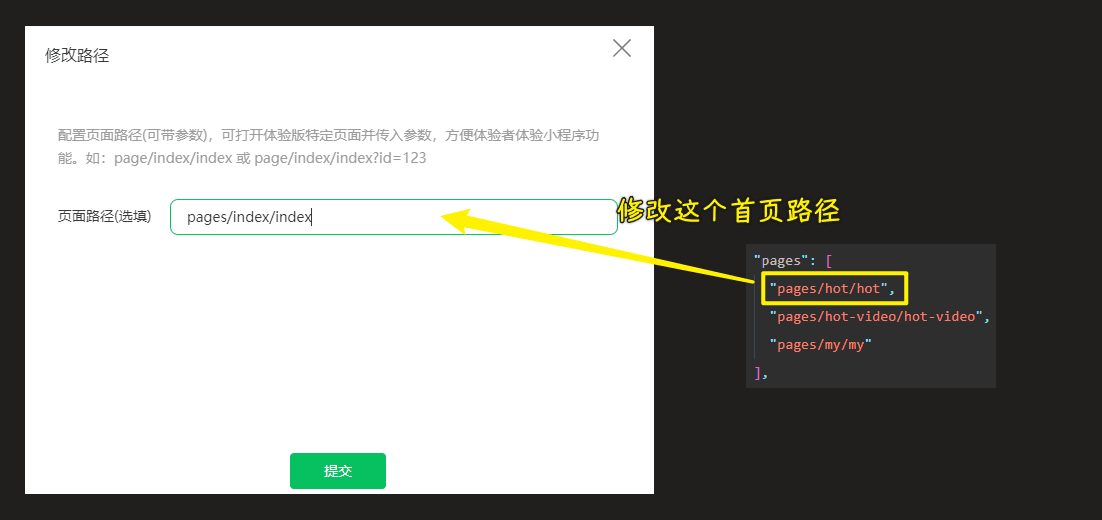
💡:上传后,预览体验版,页面空白
💡:小程序上传的项目配置项
{
  "description": "项目配置文件。",
  "packOptions": {
    "ignore": []
  },
  "setting": {
    "urlCheck": true,
    "es6": true,
    "enhance": true,
    "postcss": true,
    "preloadBackgroundData": false,
    "minified": true,
    "newFeature": false,
    "coverView": true,
    "nodeModules": false,
    "autoAudits": false,
    "showShadowRootInWxmlPanel": true,
    "scopeDataCheck": false,
    "uglifyFileName": true,
    "checkInvalidKey": true,
    "checkSiteMap": true,
    "uploadWithSourceMap": true,
    "compileHotReLoad": false,
    "lazyloadPlaceholderEnable": false,
    "useMultiFrameRuntime": true,
    "useApiHook": true,
    "useApiHostProcess": true,
    "babelSetting": {
      "ignore": [],
      "disablePlugins": [],
      "outputPath": ""
    },
    "enableEngineNative": false,
    "useIsolateContext": true,
    "userConfirmedBundleSwitch": false,
    "packNpmManually": false,
    "packNpmRelationList": [],
    "minifyWXSS": true,
    "disableUseStrict": false,
    "showES6CompileOption": false,
    "useCompilerPlugins": false
  },
  "compileType": "miniprogram",
  "libVersion": "2.19.6",
  "appid": "你的小程序 id",
  "projectname": "imooc-blog",
  "debugOptions": {
    "hidedInDevtools": []
  },
  "scripts": {},
  "staticServerOptions": {
    "baseURL": "",
    "servePath": ""
  },
  "isGameTourist": false,
  "condition": {
    "search": {
      "list": []
    },
    "conversation": {
      "list": []
    },
    "game": {
      "list": []
    },
    "miniprogram": {
      "list": []
    }
  }
}
💡:浏览文章时,代码高亮
选择代码高亮样式:
- PrismJS/prism-themes: A wider selection of Prism themes
- prism.css
- kaicataldo/prism-material-themes: 🎨 Themes for the Prism syntax highlighting library based on the Material color scheme
- Download ▲ Prism
压缩 CSS 代码:
💡:主包超出限制
把 project.config.json 文件里边的minified字段设置为 true 即可
➹:预览上传一直报错 Error: 系统错误,错误码:80200,main? - 微信开放社区
💡:打包上线不输出console.log
3)打包 h5 页面
- 打开
HBuilder - 打开当前要打包的项目
- 点击发行,找到【网站 - PC web 或手机 H5 】
- 确认【网站标题】,无需【网站域名】,直接点击发行即可 -> 需要填写
DCloud APPID(可以重新获取),不填写这个无法打包 - 等待项目编译
- 编译成功后,项目会被导出到指定路径
- 找到该路径下的文件,即为【打包后的文件】
- 注意: 不可直接打开
index.html进行访问,需要通过web 服务进行访问!
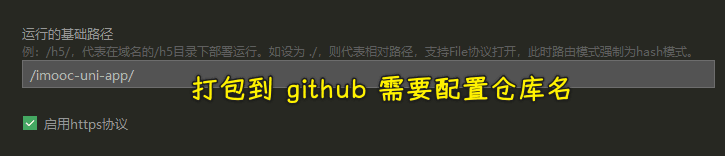
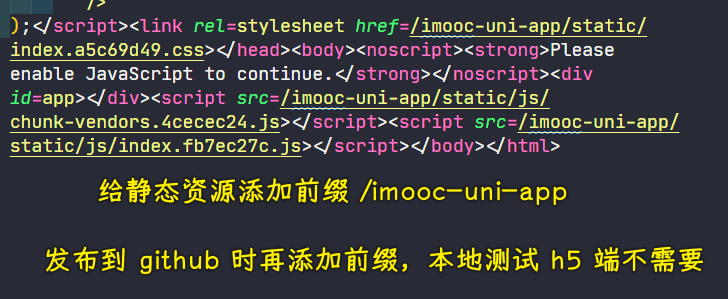
打包到 Github:
4)总结
本章节我们讲解了如何打包:
- 微信小程序
h5客户端
那么如果大家想要打包其他平台应用的话,也非常简单,同样在发行下点击对应的按钮即可。